There are all sorts of tutorials about how to piece strips together to make quilt binding. I’ve found that this is the most reliable method for me to piece the fabric. Why bother piecing on an angle instead of straight across? Well, once the strip has been folded in half, stitched down, then wrapped around the quilt sandwich, there will be six layers of fabric in addition to the quilt top, batting, and backing. If you sew the seam on the straight of grain, straight across the strip of binding, then you add that seam allowance to all six layers, meaning there will be TWELVE layers of fabric positioned in one 1/2″ of space. Bumpy, bulging blob of fabric. Seaming on a 45° angle distributes that seam allowance over a wider area, so there is no bump in the finished binding where all the seams and seam allowance converge.
I like to cut my binding strips 2 1/4″ wide x WOF (width of fabric). This creates a narrow, tight binding that appeals to me, but, hey, you do you!
I don’t trim the 45° angle on the ends of the strips first, because then I have to stitch across the bias to connect the strips. I prefer to stitch first, and then trim.
Step 1
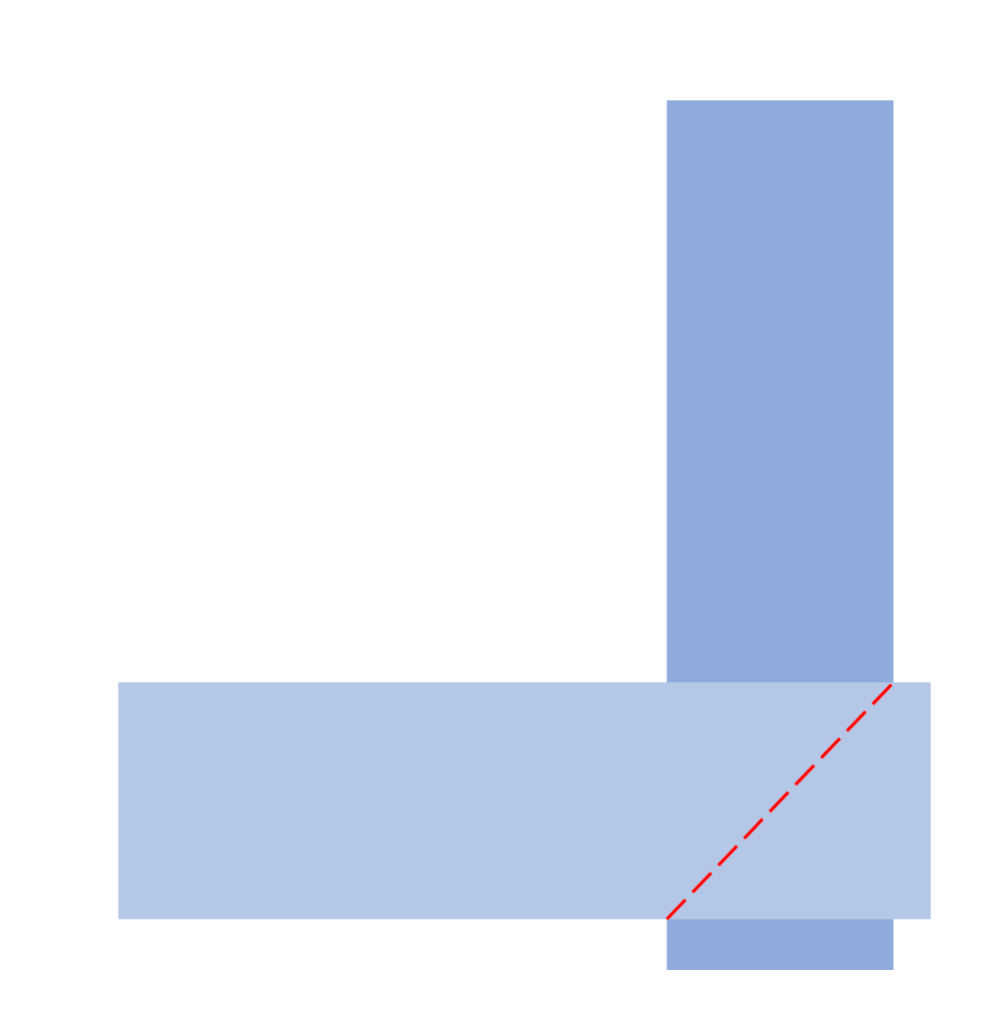
Place the two strips of fabric right sides together, lining them up precisely along your ruled cutting mat. The bottom strip should be right side up as if it were a clock hand at 12:00. The top strip should be wrong side up as if it were a clock hand at 9:00. The two strips intersect at the center of the clock.
Step 2
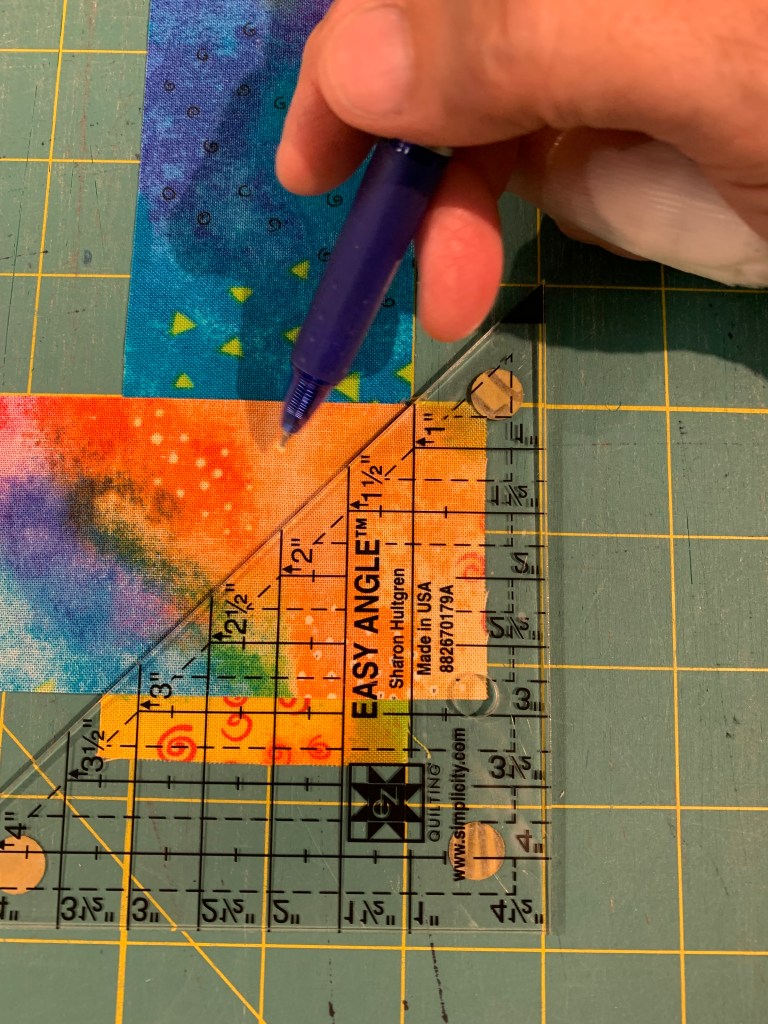
Using a ruler and a marking tool, draw a line from the upper right hand corner to the lower left hand corner, diagonally, across the intersecting fabrics.
Step 3
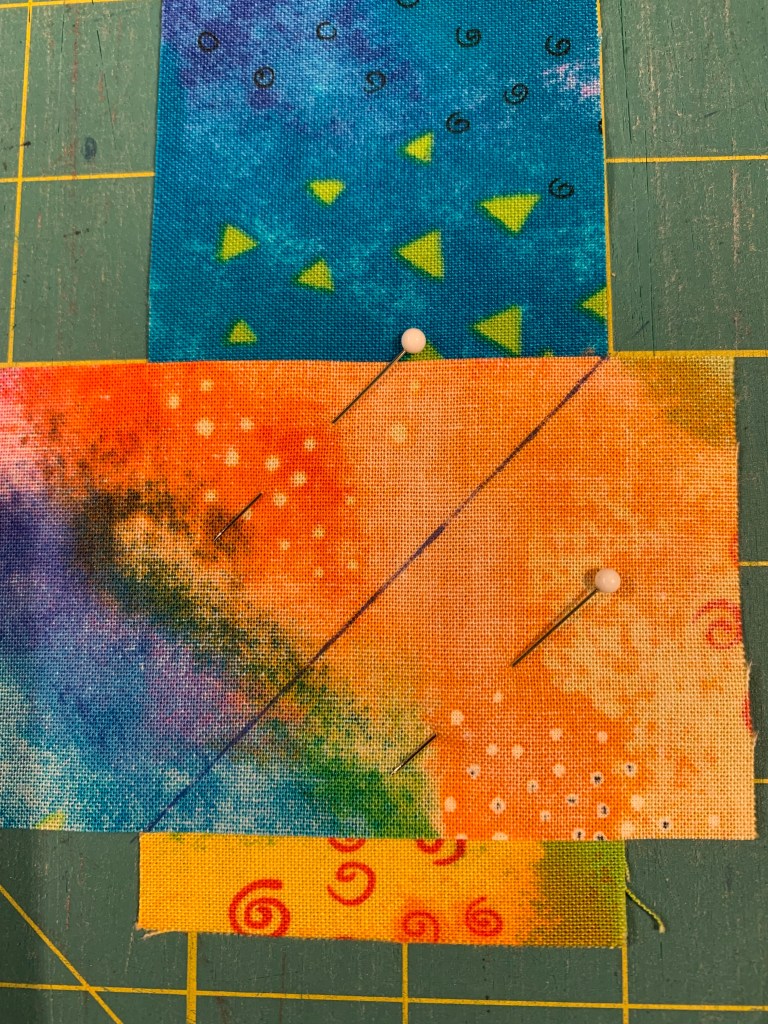
Without moving the fabrics, carefully pin them together, placing a pin on either side of the marked line. I like to place my pins so they point in the direction I will be stitching.
Step 4
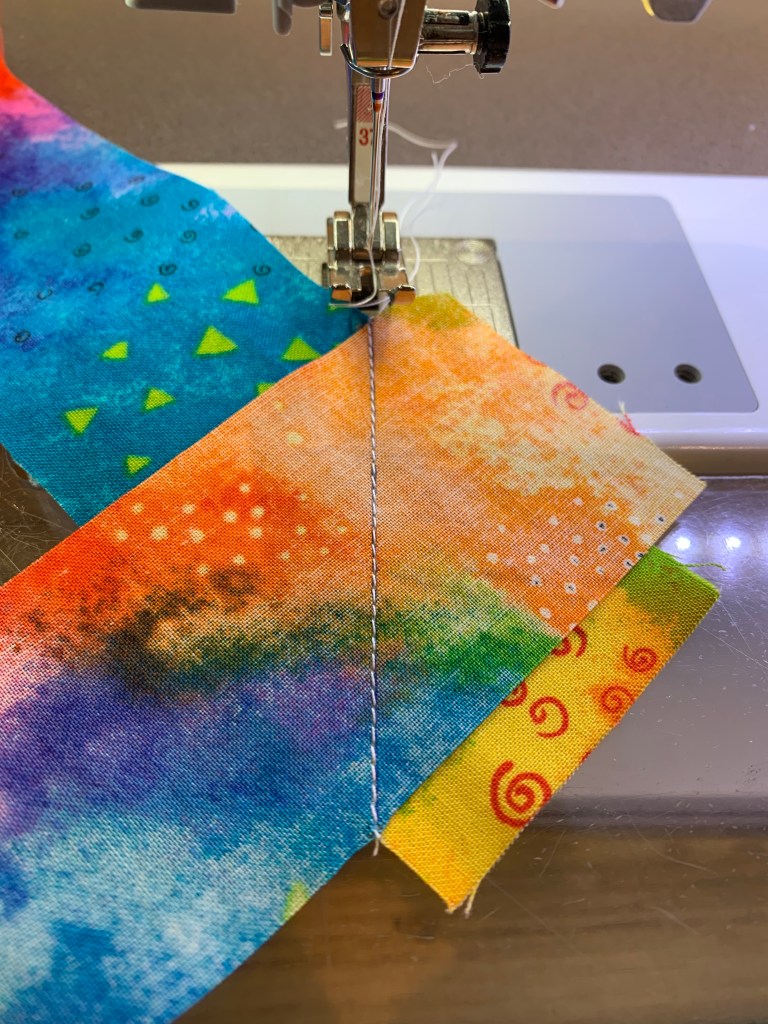
Stitch across the corner along the marked line.
Step 5
Trim the seam allowance to 1/4″ and press open. Fold the binding in half lengthwise, wrong sides together and press flat. Trim off the little rabbit ears that protrude beyond the long edges.

That’s it! Perfectly stitched 45° angle seam!
